
Baking sourdough bread doesn’t have to be intimidating! Follow this step-by-step process to baking your own sourdough. This is an easy sourdough bread for beginners to start with!

Sourdough Bread used to intimidate me. There are so many different recipes and techniques out there to creating this lovely, chewy and tangy crusted loaf that it can be overwhelming!
I’ve used several different methods and have settled on my favorite way of making our weekly sourdough bread. I use simple, basic ingredients. There is no need to get fancy when you’re learning!
Sourdough takes more time than a basic yeast bread. If you are wanting fresh sourdough bread for dinner the next day, start the process the morning before.
The best part is this recipe will give you two loaves, because you know that first one is going to disappear in no time!
What Do I Need to Start baking Sourdough Bread?
Sourdough Starter – I have a lovely friend that got me started in sourdough by gifting me a mason jar of her own sourdough starter. These are the best types of friends! You can also make your own!
All purpose flour – You can use Bread flour in place of this which has a higher protein content, but I’ve found the All Purpose, UNBLEACHED flour works fine and is less expensive.
Whole Wheat Flour – The whole wheat flour has more natural yeast in the flour which feeds the good bacteria in the sourdough starter to provide the fermentation needed to make this bread rise!
Salt – I use basic table salt.
Oil – to oil the bowl during the rise process.
Course Cornmeal – (optional)
Kitchen Supplies you will need:
A kitchen scale Again, you don’t need to get fancy. Most recipes measure in grams. My kitchen scale is in ounces so I use basic math to convert grams to ounces and have not had any issues.
Large Mixing Bowl My two go to bowls are a large pyrex and a large red bowl I’ve had for a while! This set has a similar one.
Proofing Basket/Banneton or a cloth lined bowl
Step 1: Preparing your Levain Starter

The first thing you will need to do is prepare your Levain.
What is Levain?
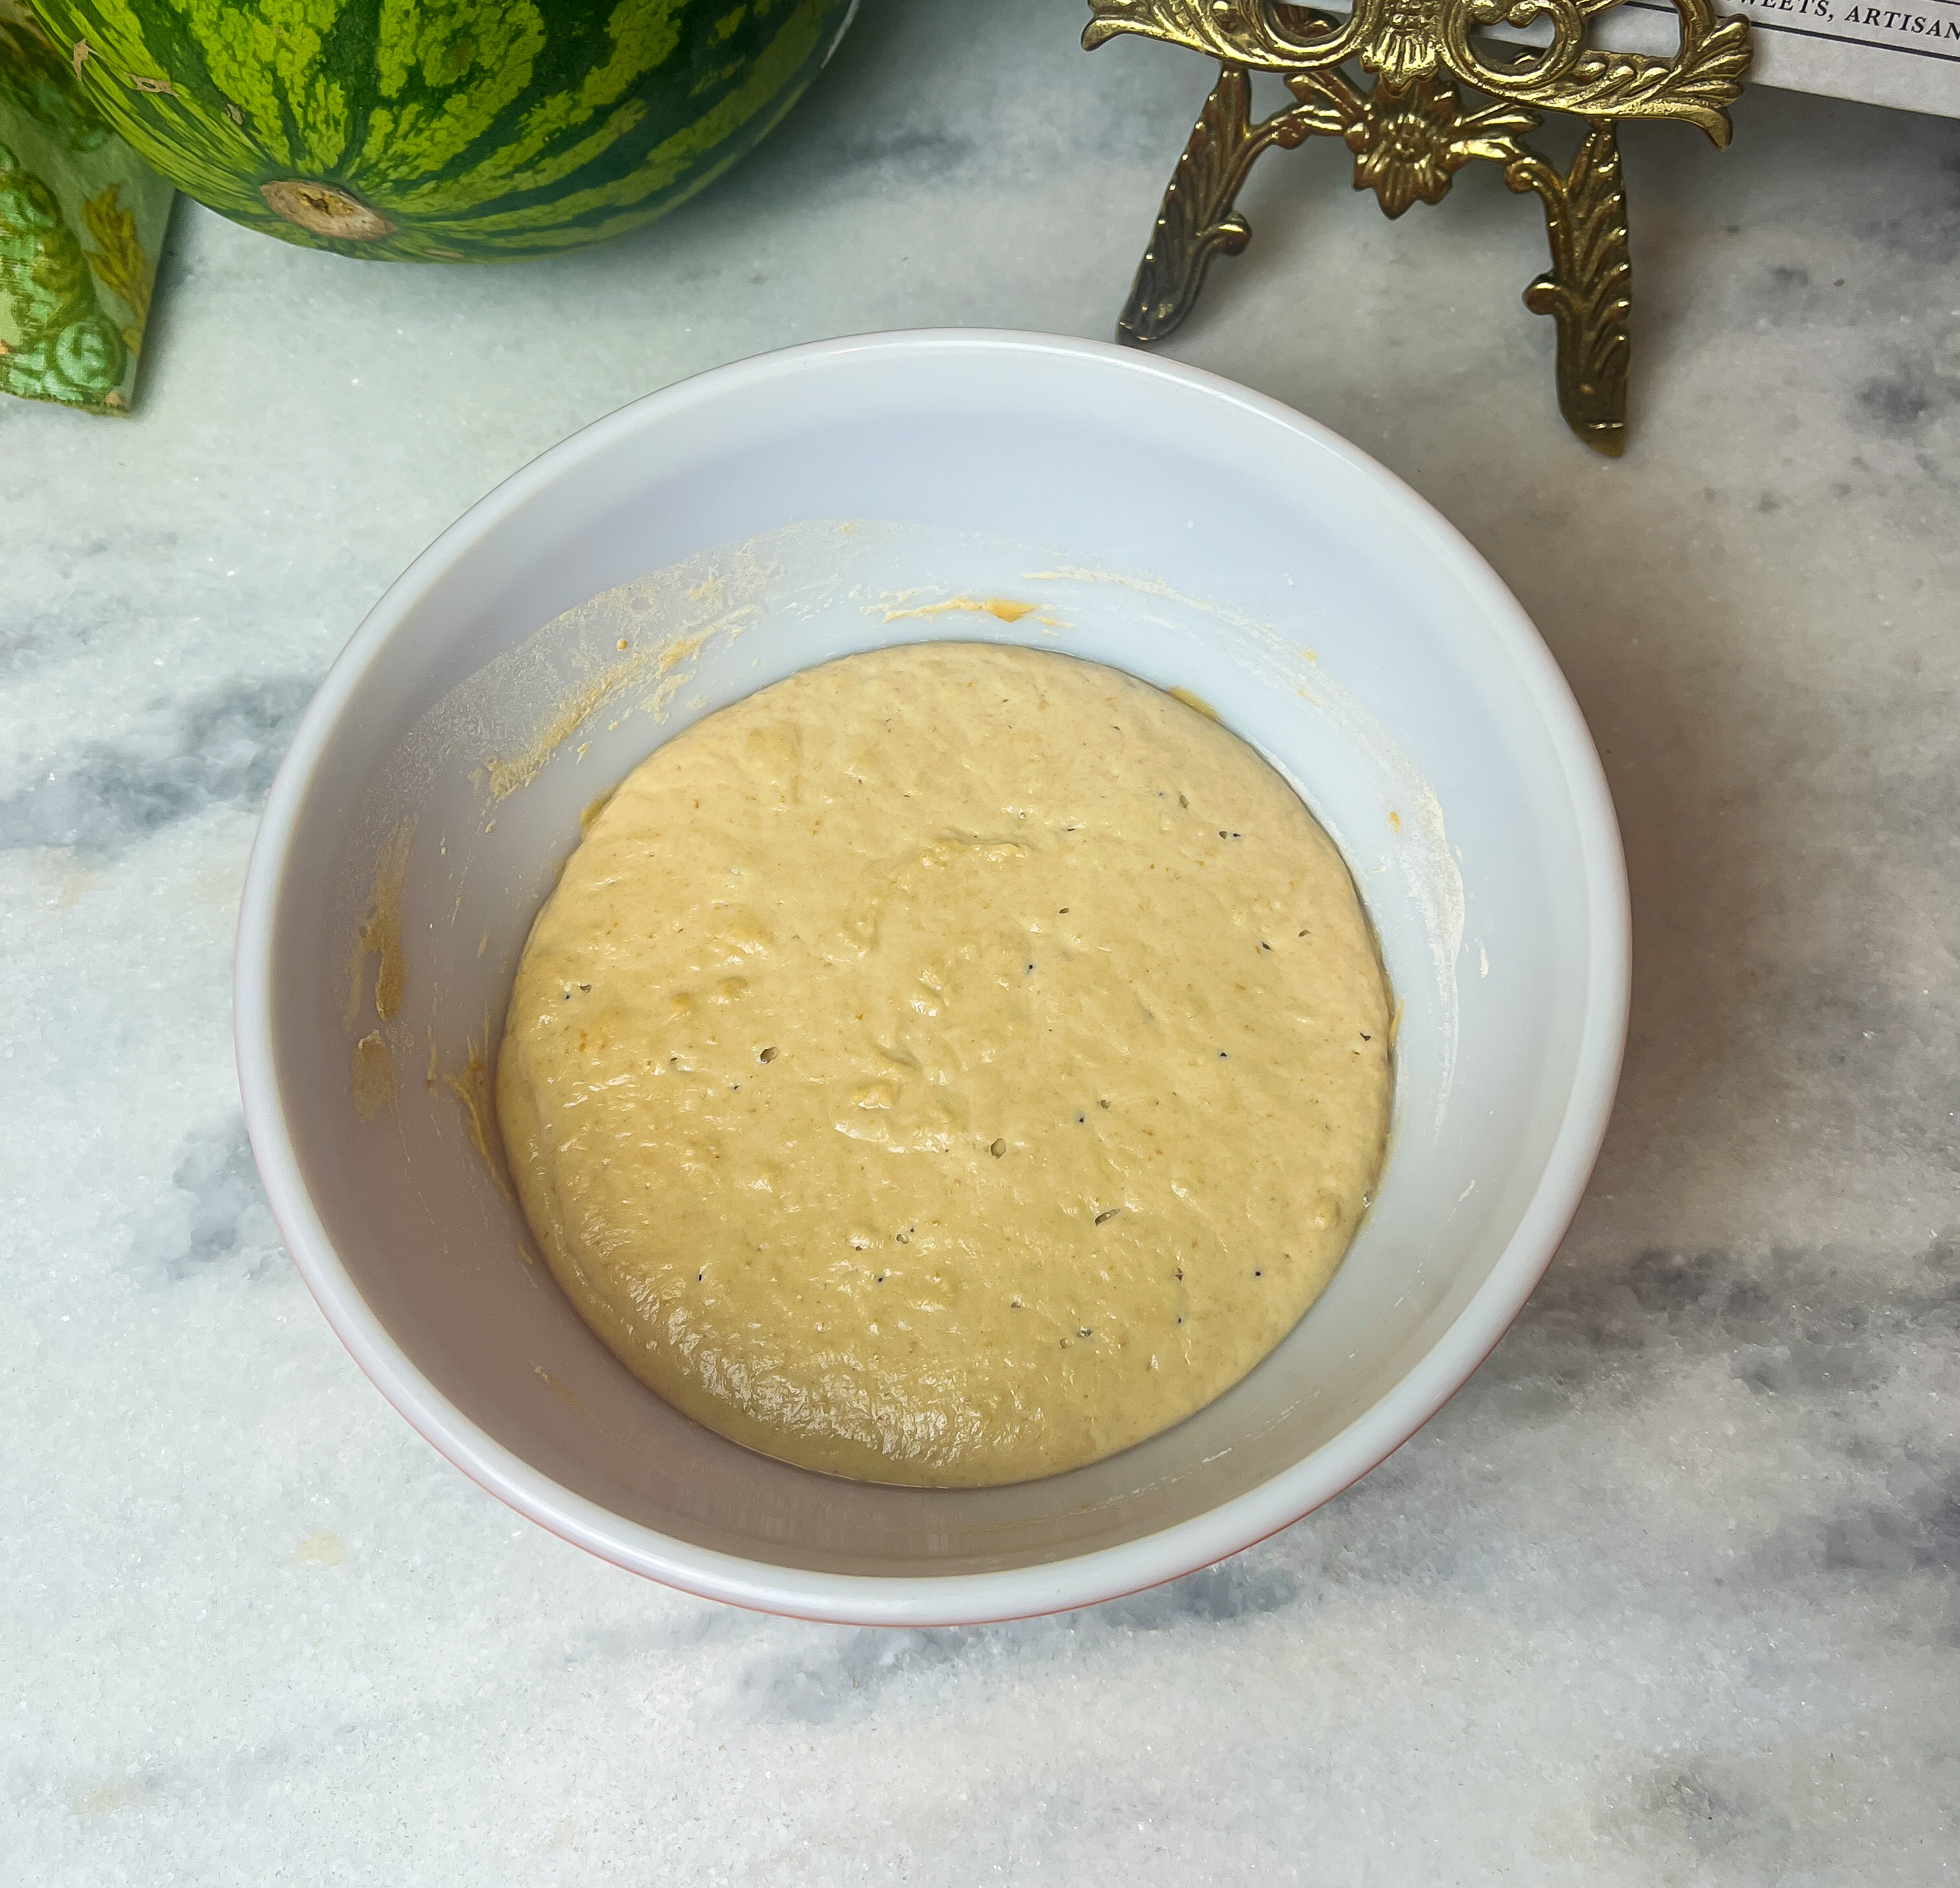
Levain is a batch of active and bubbly sourdough starter that’s been fed a weighed amount of flour and water for your recipe. If you are wanting fresh bread for dinner the next day, start your levain the morning before.
To Build your Levain starter:
Weigh out the following ingredients into a bowl or jar with enough room for the levain to expand without overflowing. (I like to weigh mine into this pyrex bowl which is large enough for me to dissolve the Levain into the water needed for the main recipe when it is ready.)
1.7 oz of Sourdough Starter
1.7 oz of Whole Wheat Flour
1.7 oz of All purpose Flour
3.4 oz of Warm Water
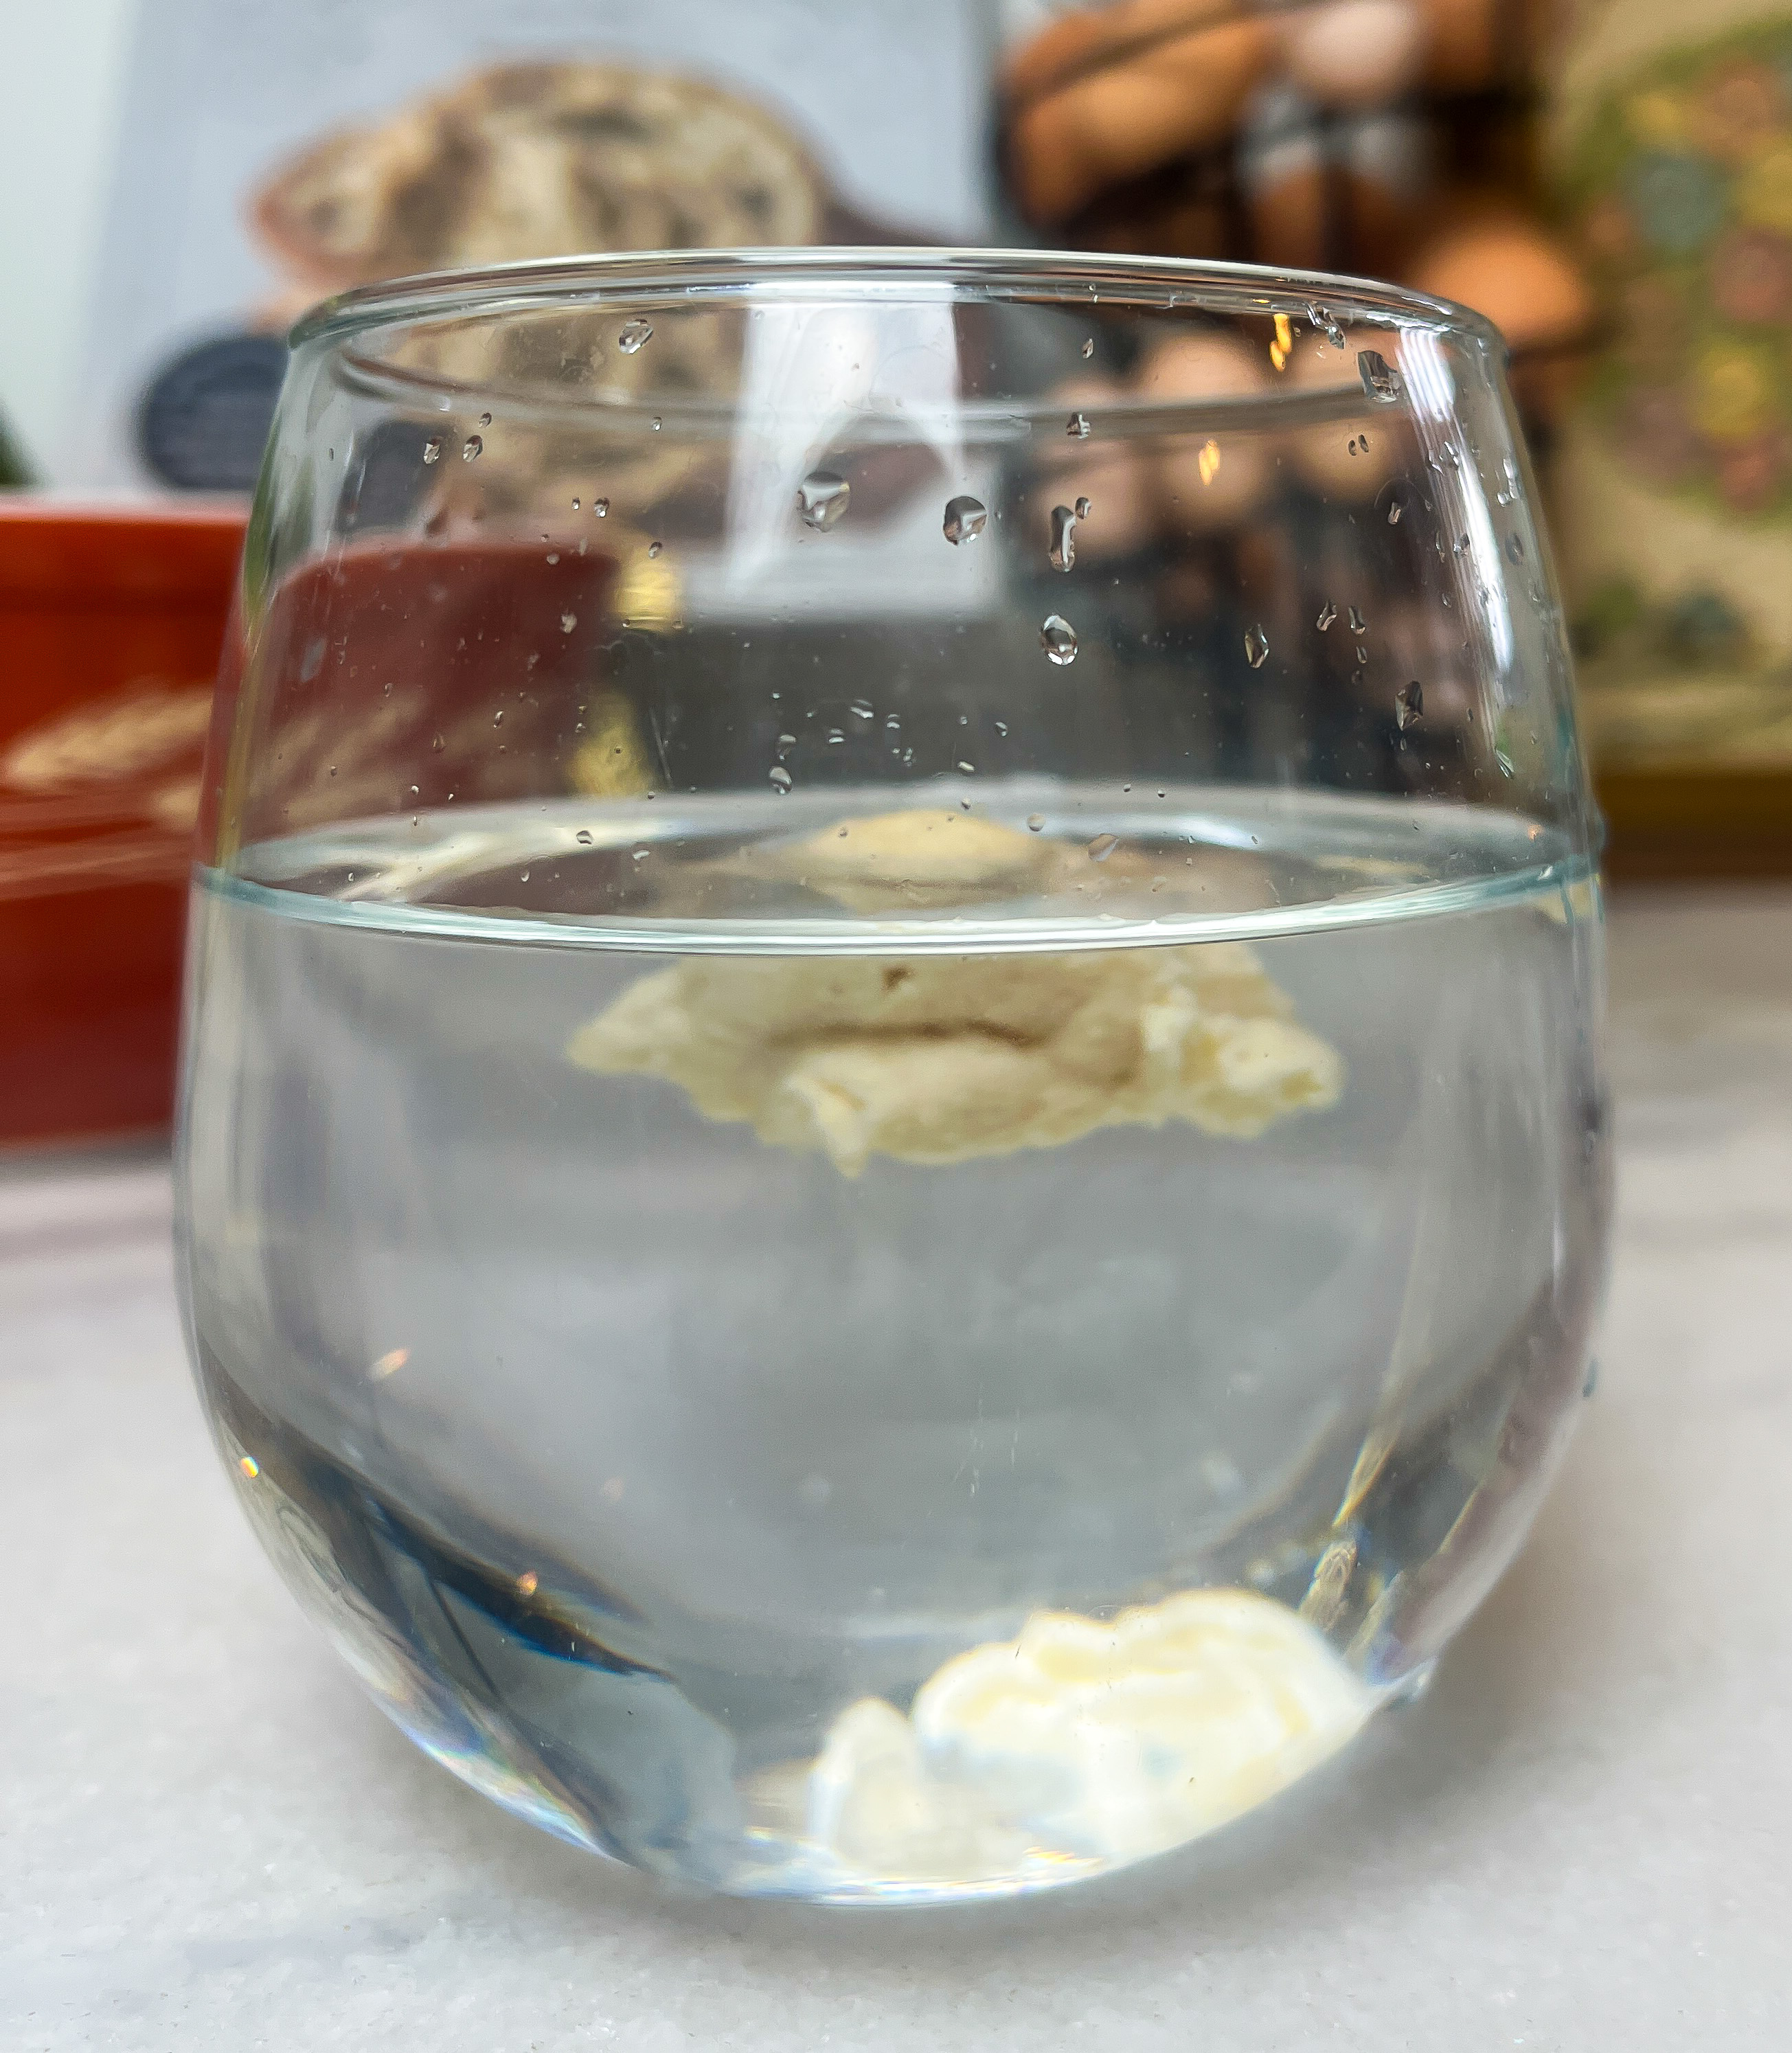
Mix together and cover with a cloth napkin and let rise on the kitchen counter. Keep an eye on it. When the levain is bubbly and doubled in size, test it by taking a small spoon of the levain and dropping it gently into a glass of water. If the Levain floats, it is ready to use!
Step 2: Measure out your ingredients for your dough.
Weigh out:
1 lb 15 oz of All Purpose Flour
3.5 oz of Whole Wheat Flour
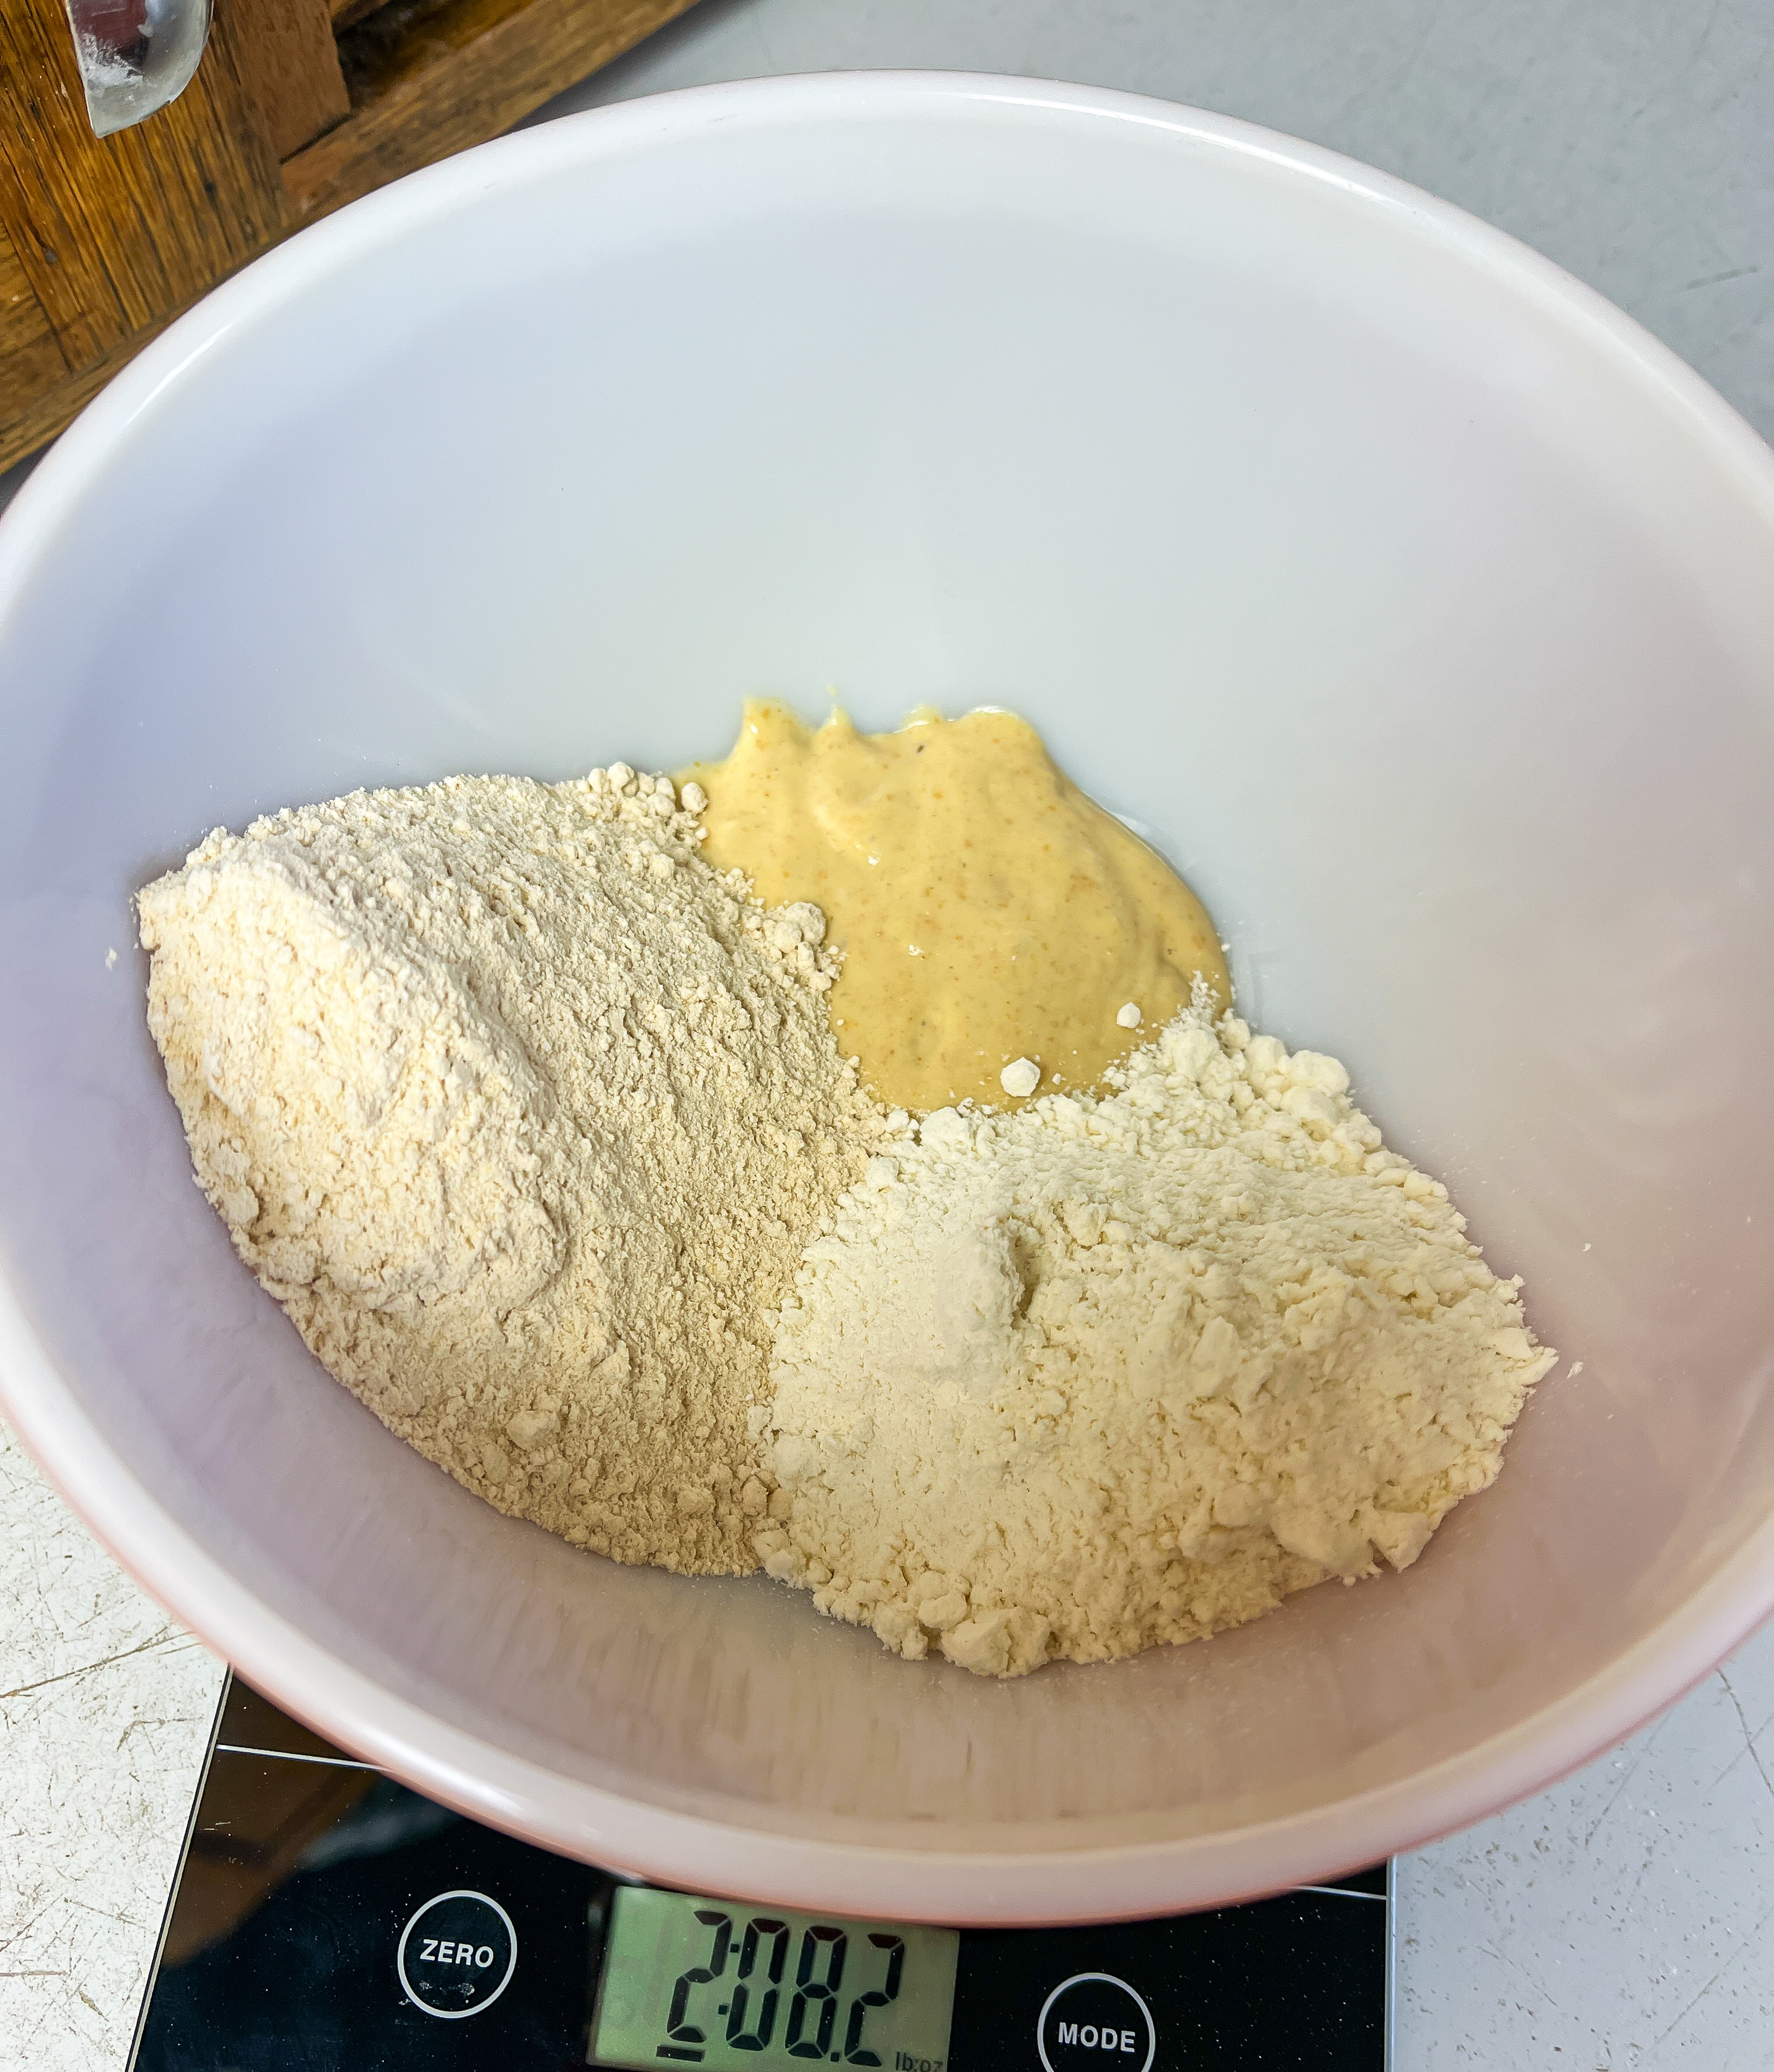
Place the flours together in your large mixing bowl. Remember this will make two loaves so make sure you have a large bowl!
2. Next, weigh out your water:
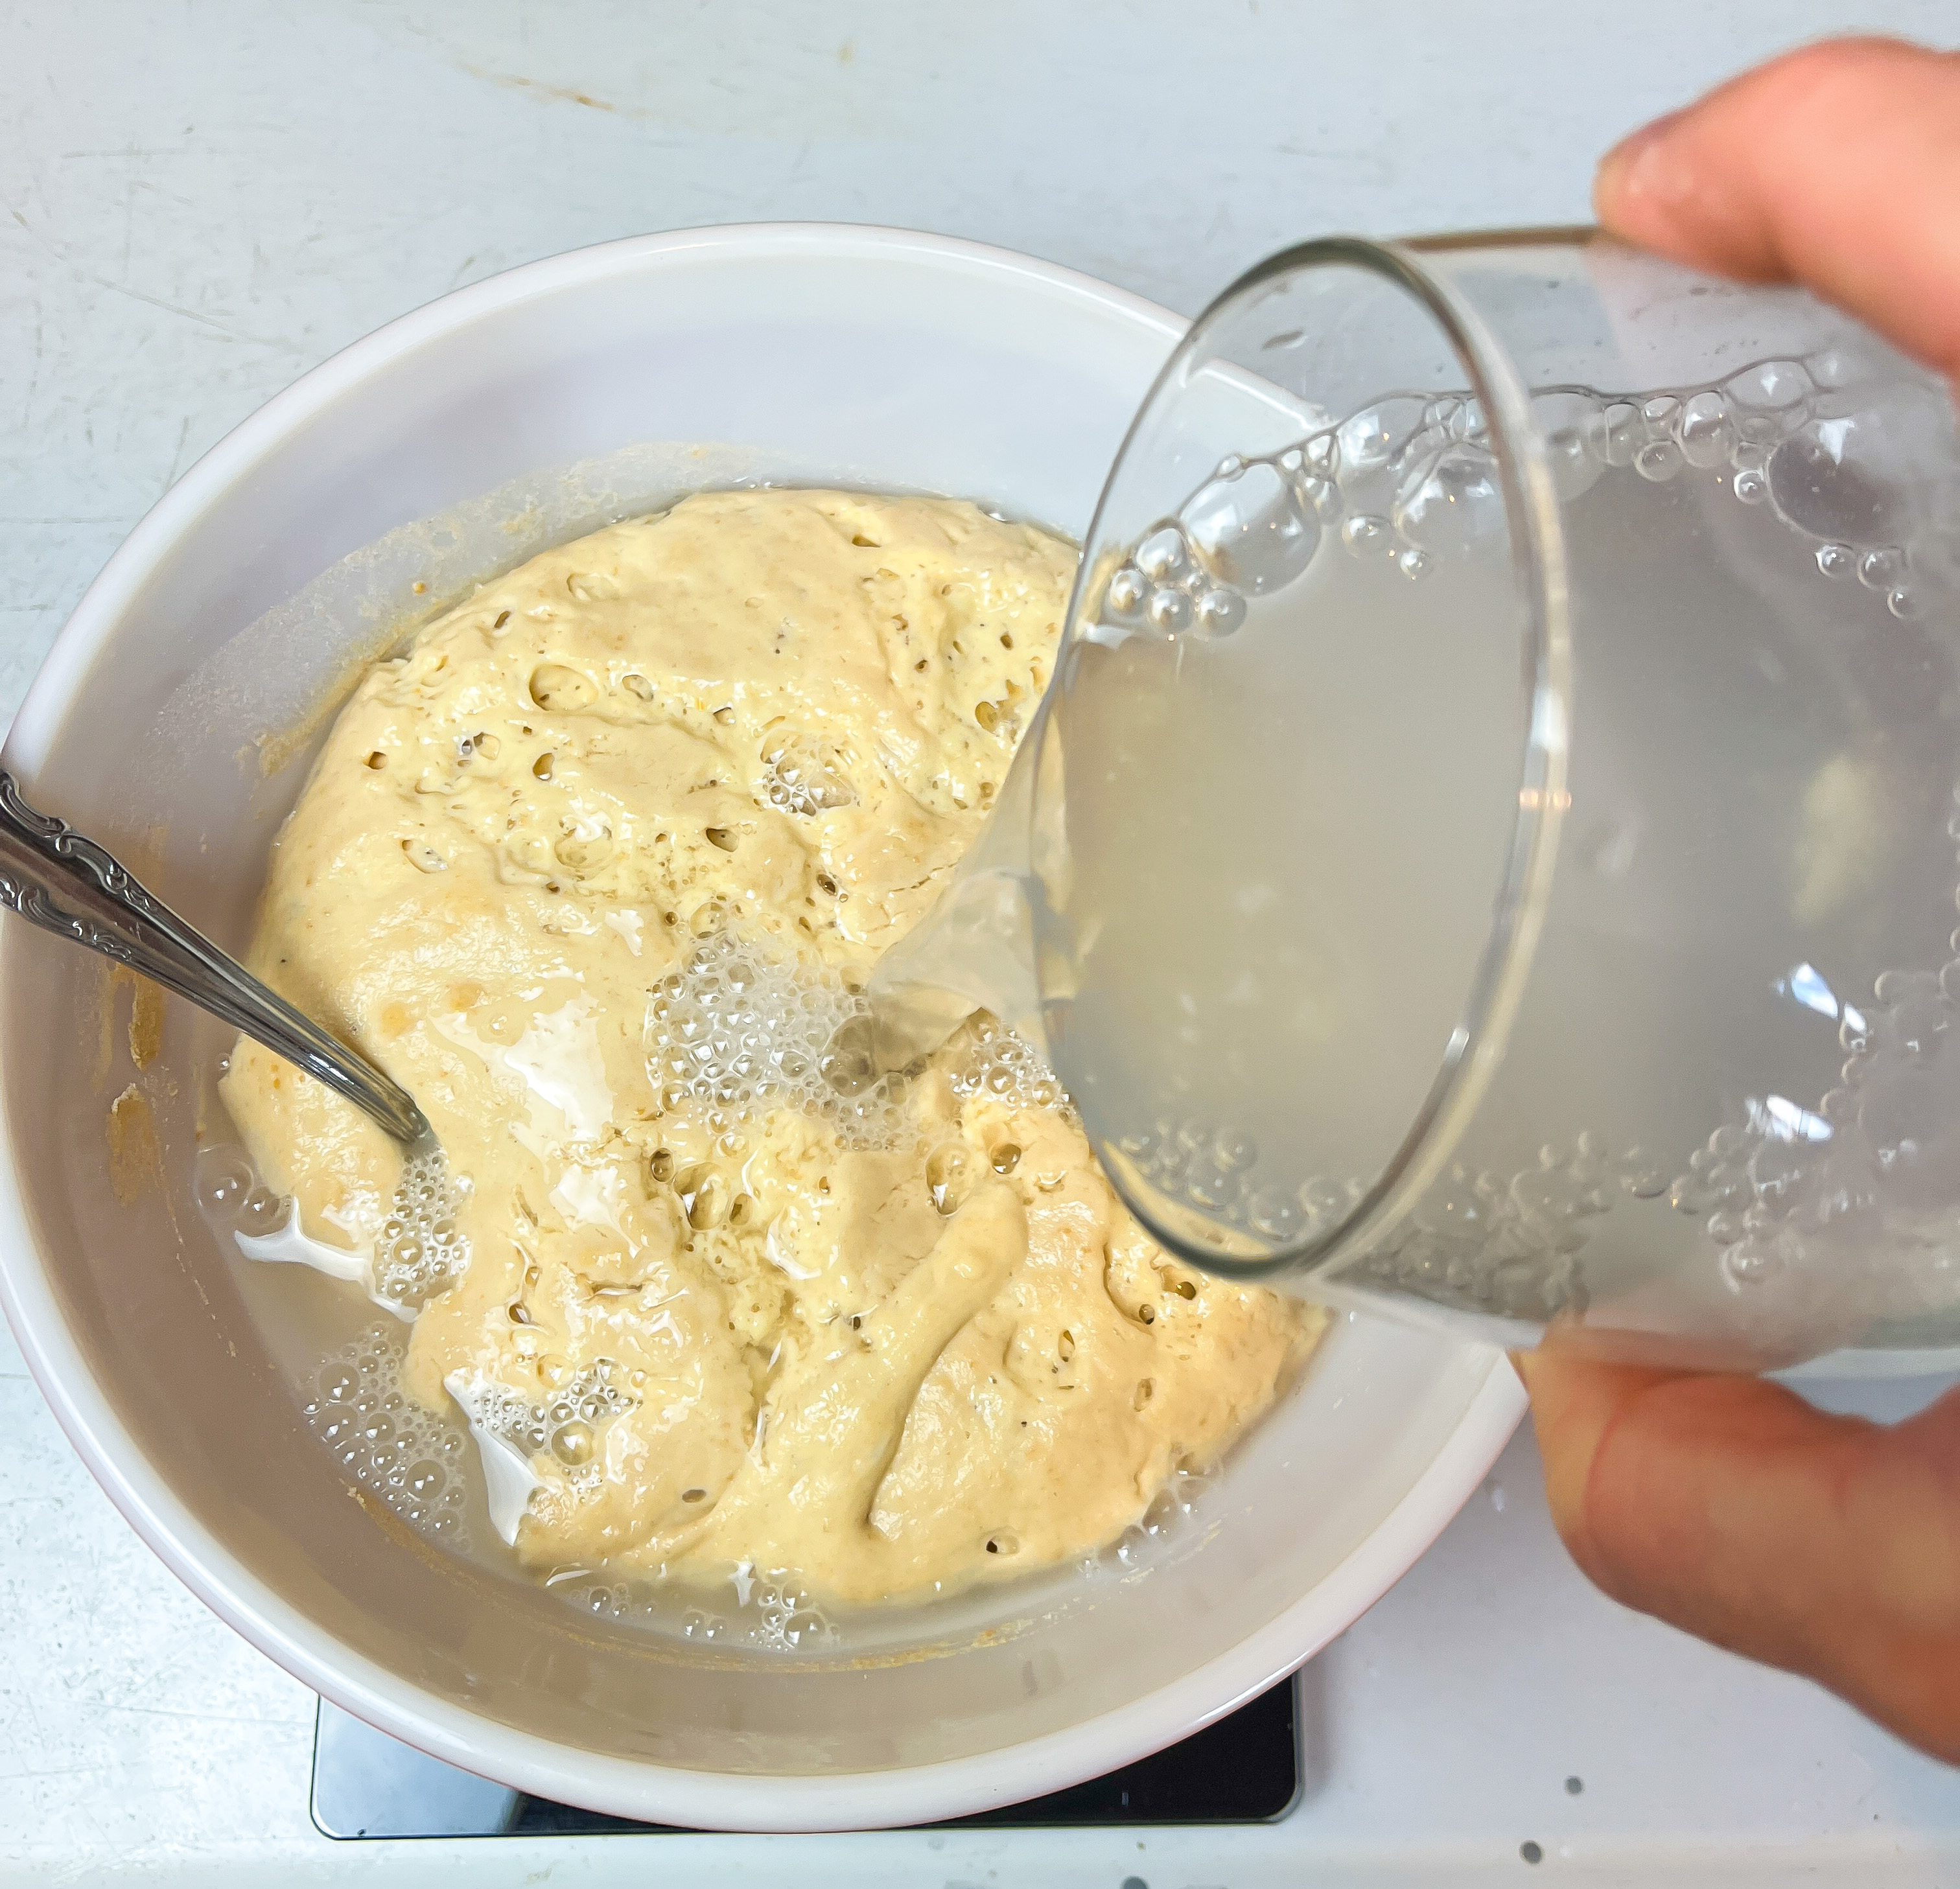
24.6 Oz of Warm Water
Add this to your levian. I like to build the levian in a large enough bowl that I can pour the water directly into the levian bowl and mix together. Whisk gently together to dissolve the levian into the water.
3. Weigh out your salt and set aside:
0.7 oz of salt.
Step 3: Mix the Ingredients:
Next, pour 3/4 of the levain mixture into the mixed flours and set aside the remaining water. You will use it later when we add the salt!

Using a clean hand, mix the levain/water mixture and the flour together, squeezing and kneading until it forms a shaggy ball.

Step 4: Autolyze
Cover this with a clean towel and let it sit for 30 mins. This is called Autolyse. Autolyse is a rest period where you allow the flour and water to naturally create a strong gluten bond. This is super important for a good loaf of sourdough bread!

Step 5: Adding the Salt
After the dough autolyzes for 30 mins, take the salt and remaining water and add to the dough.
Using your hand again, squeeze and fold the dough until the salt and water are fully incorporated and the dough is smooth. Dough may be tacky.
Oil another large mixing bowl and transfer the dough to this bowl.


Cover with your towel and leave on the counter for another 30 minutes.
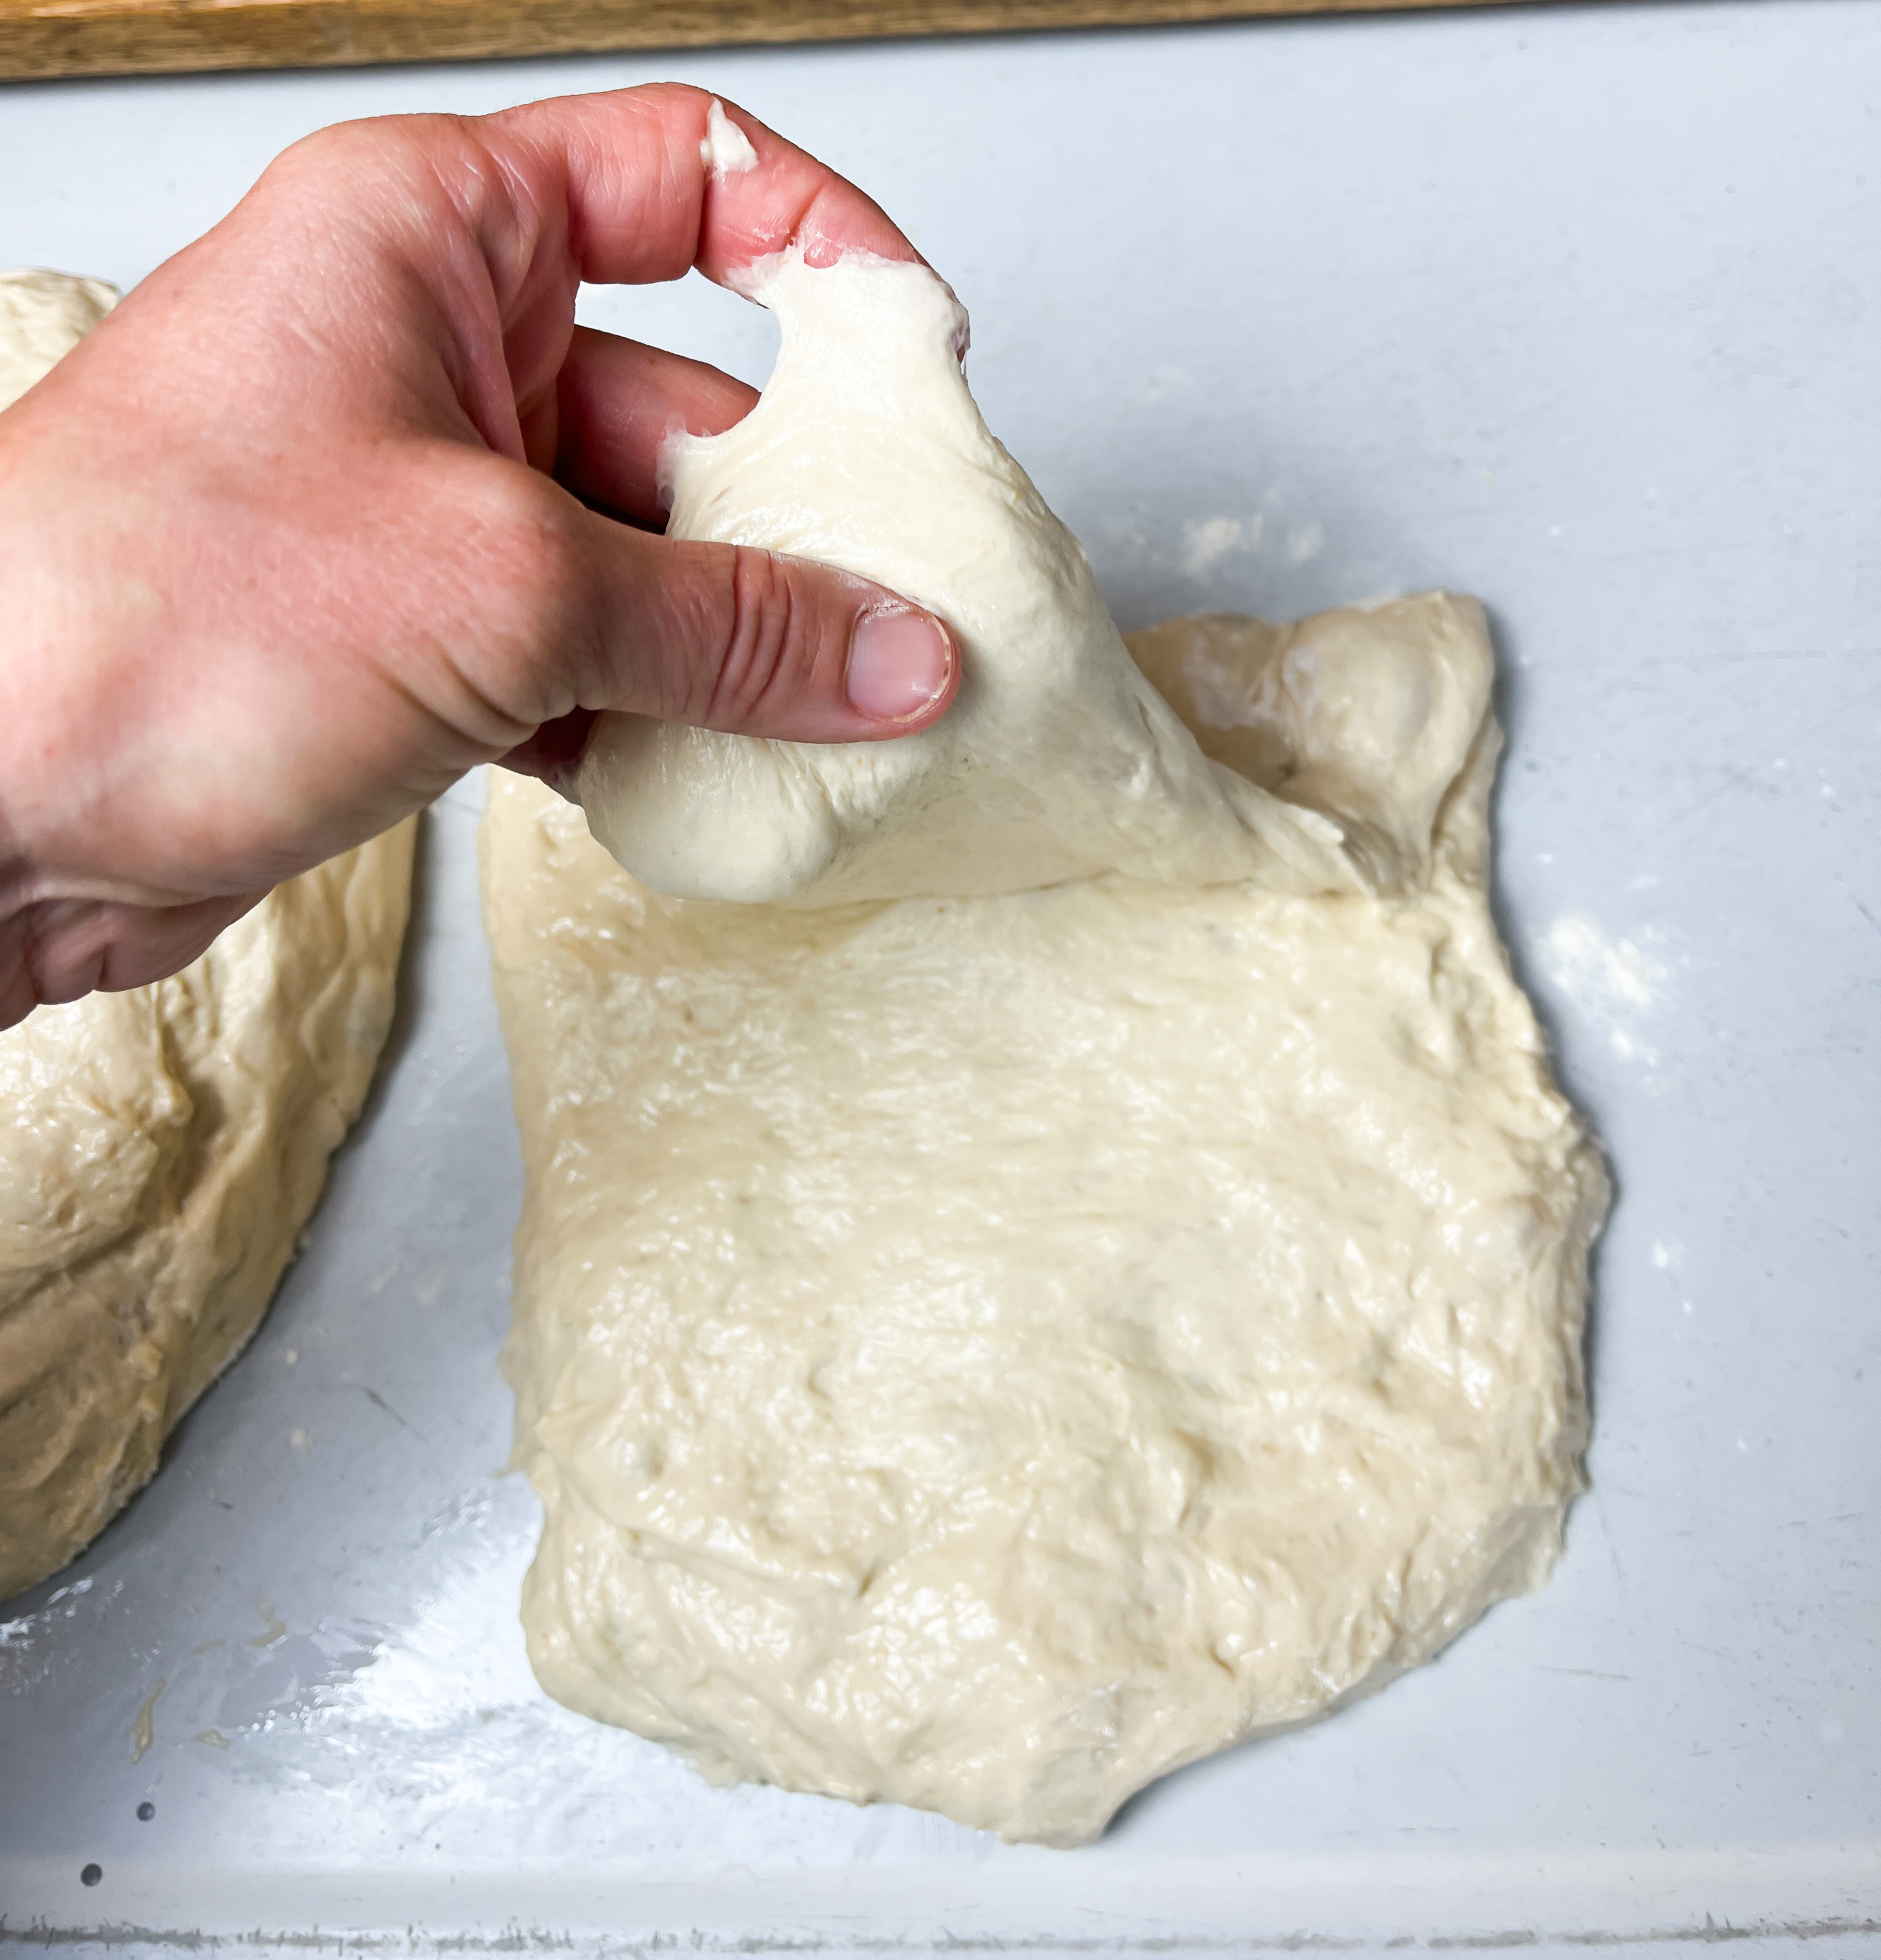
Step 6: Folding the Dough
Next were going to perform a series of folds to the dough every thirty minutes, for a total of 4 times. This builds strength in the dough. I find it easiest to remember to perform the folds by setting a timer on my phone and going about my day at home until it’s time to fold the dough.
To fold the dough:
Uncover and gently pull one of corner of the dough up and fold it over to the other side. Turn the bowl and repeat until you’ve folded over all 4 sides of the dough. Cover and repeat 3 more times.


Step 7: Resting
Let the dough rest on your counter covered for a few hours. The longer it sits the more it will ferment developing that yummy sourdough tanginess!
Now it’s time to divide the dough and place it in its proofing baskets.
Step 8: Dividing the Dough
Gently dump the dough out onto a clean surface. Using a sharp knife, or dough cutter, cut the dough in half.
Working with one half at a time, stretch dough out into a rectangle like shape and then fold all four sides into itself, envisioning an envelope. Pinch seams together and flip over.

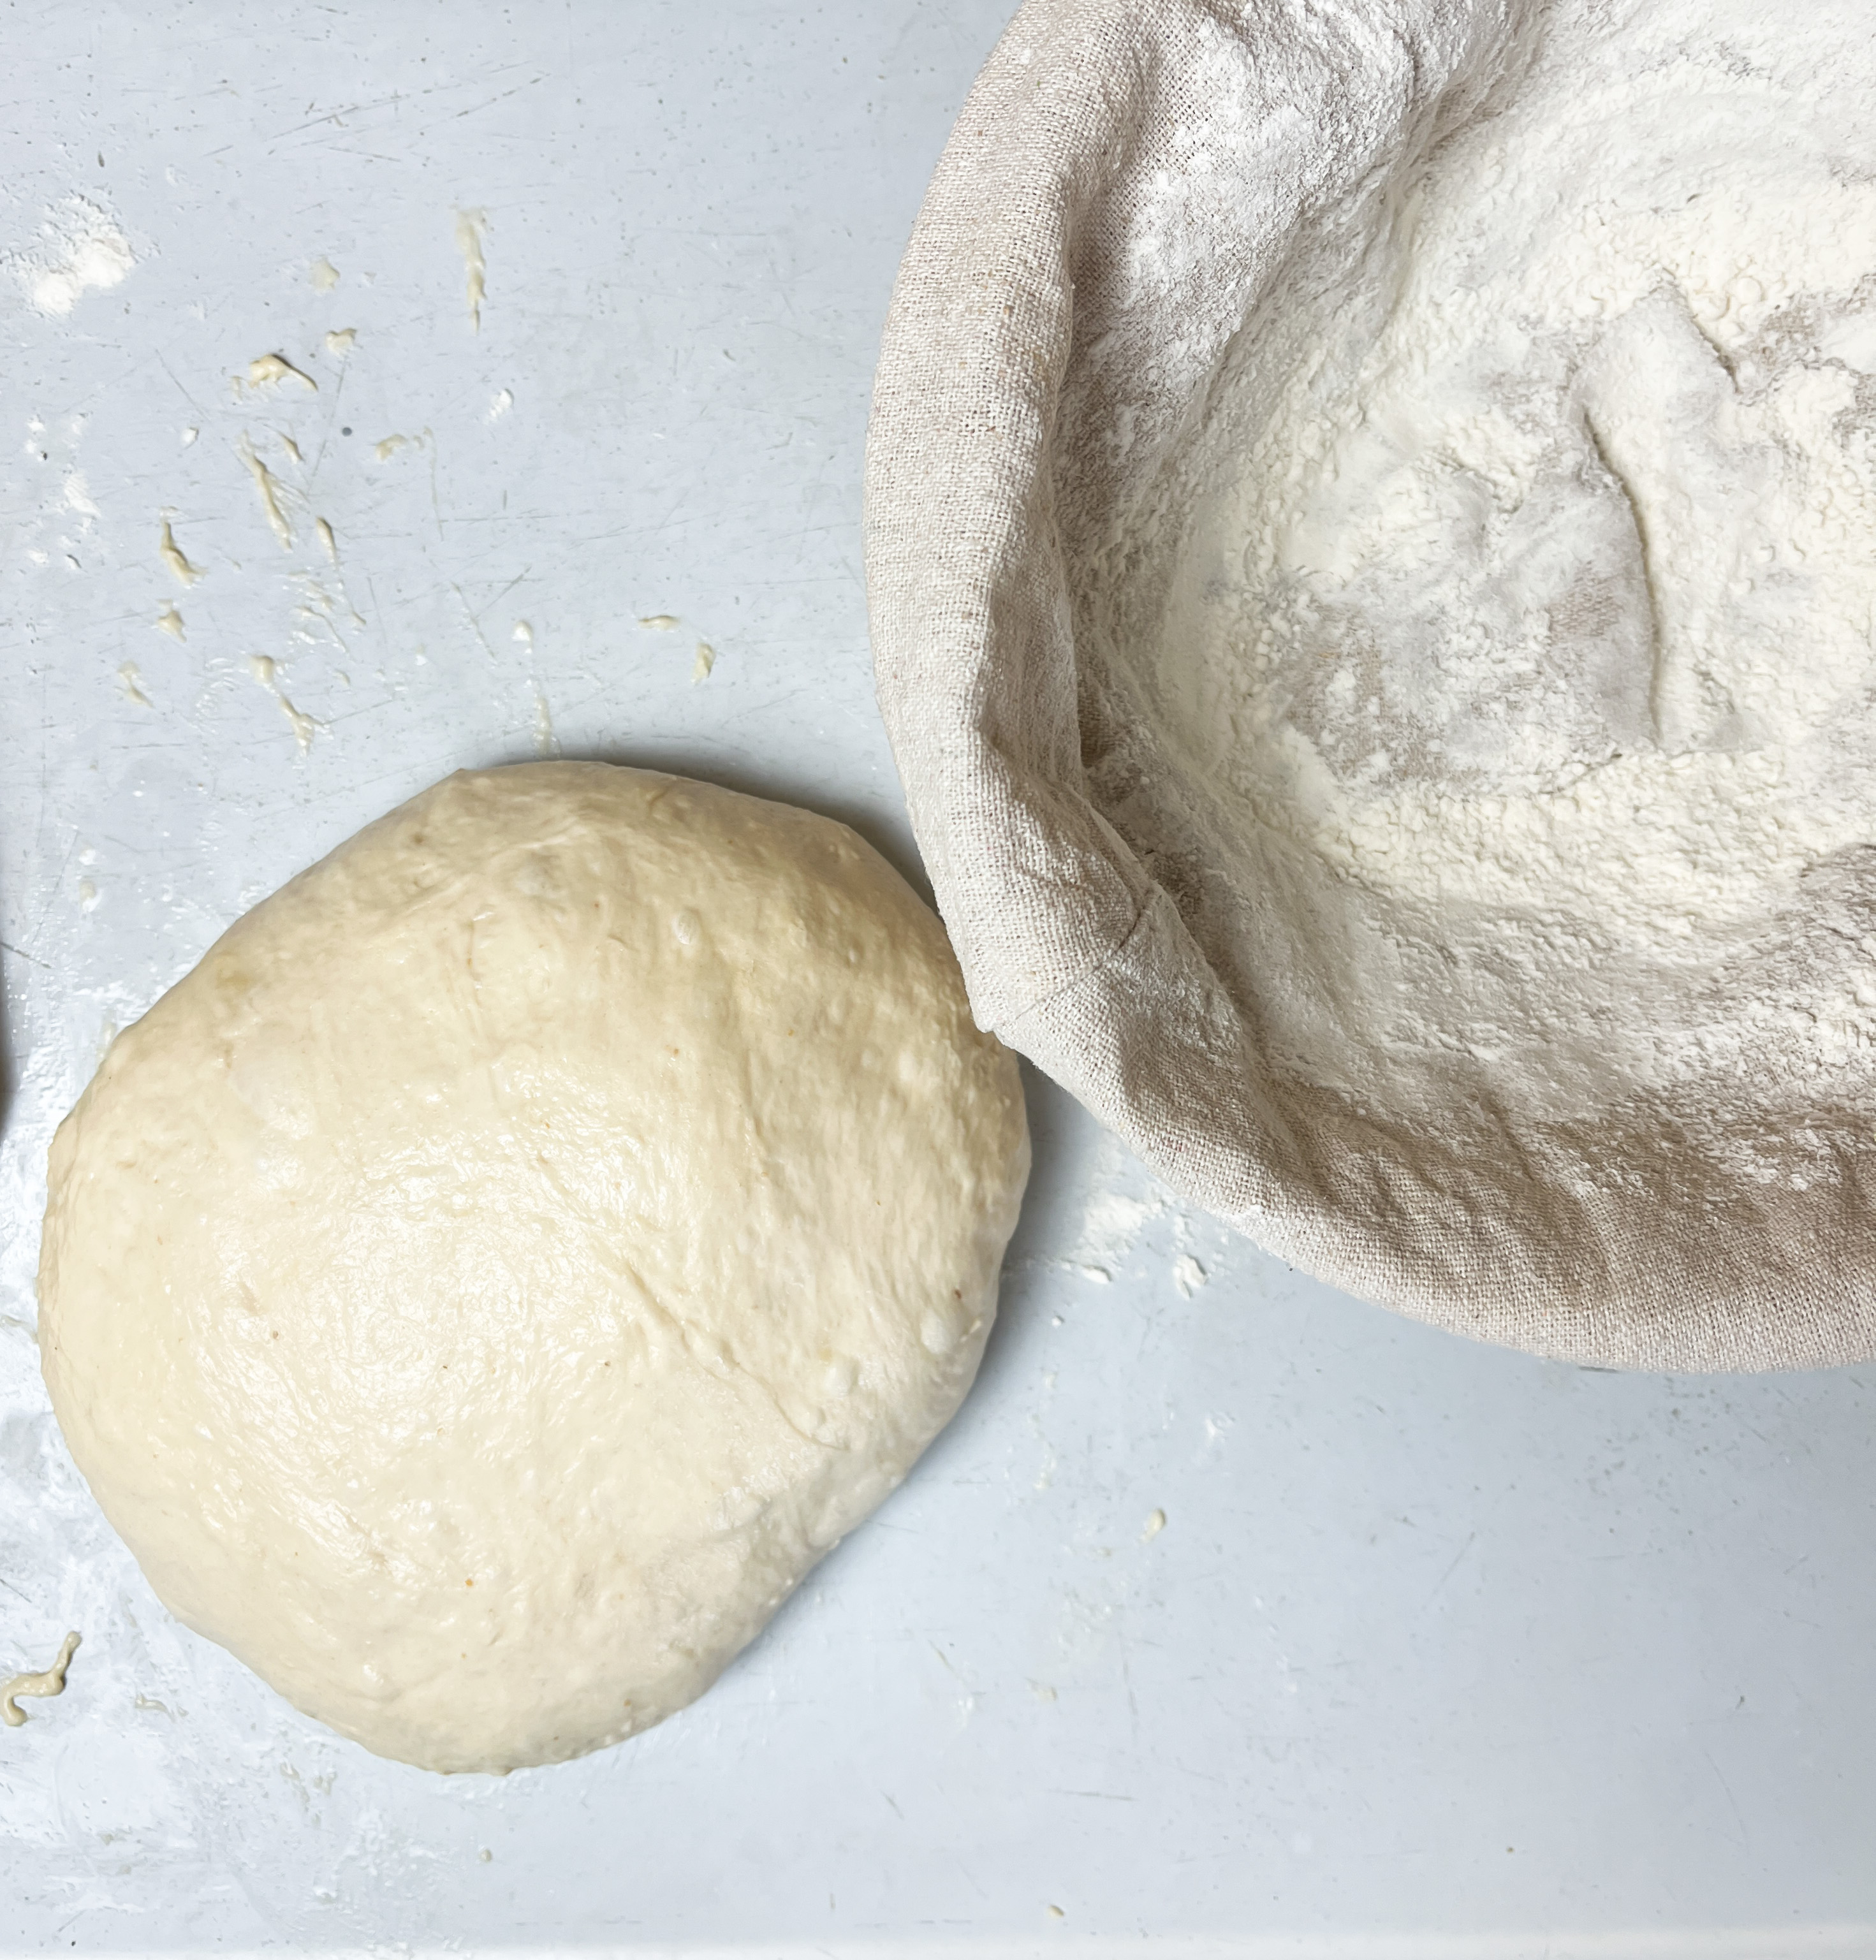
Step 9: Tension Roll
Now were going to use a tension roll to get it into the shape we want. We will be creating the Boule shape which is a beautiful round rustic loaf.
Gather the dough together in your hands and pull gently towards yourself, leaving the dough on the surface so the drag creates tension, sealing the dough. Turn the dough and repeat until you have a nice tight ball.
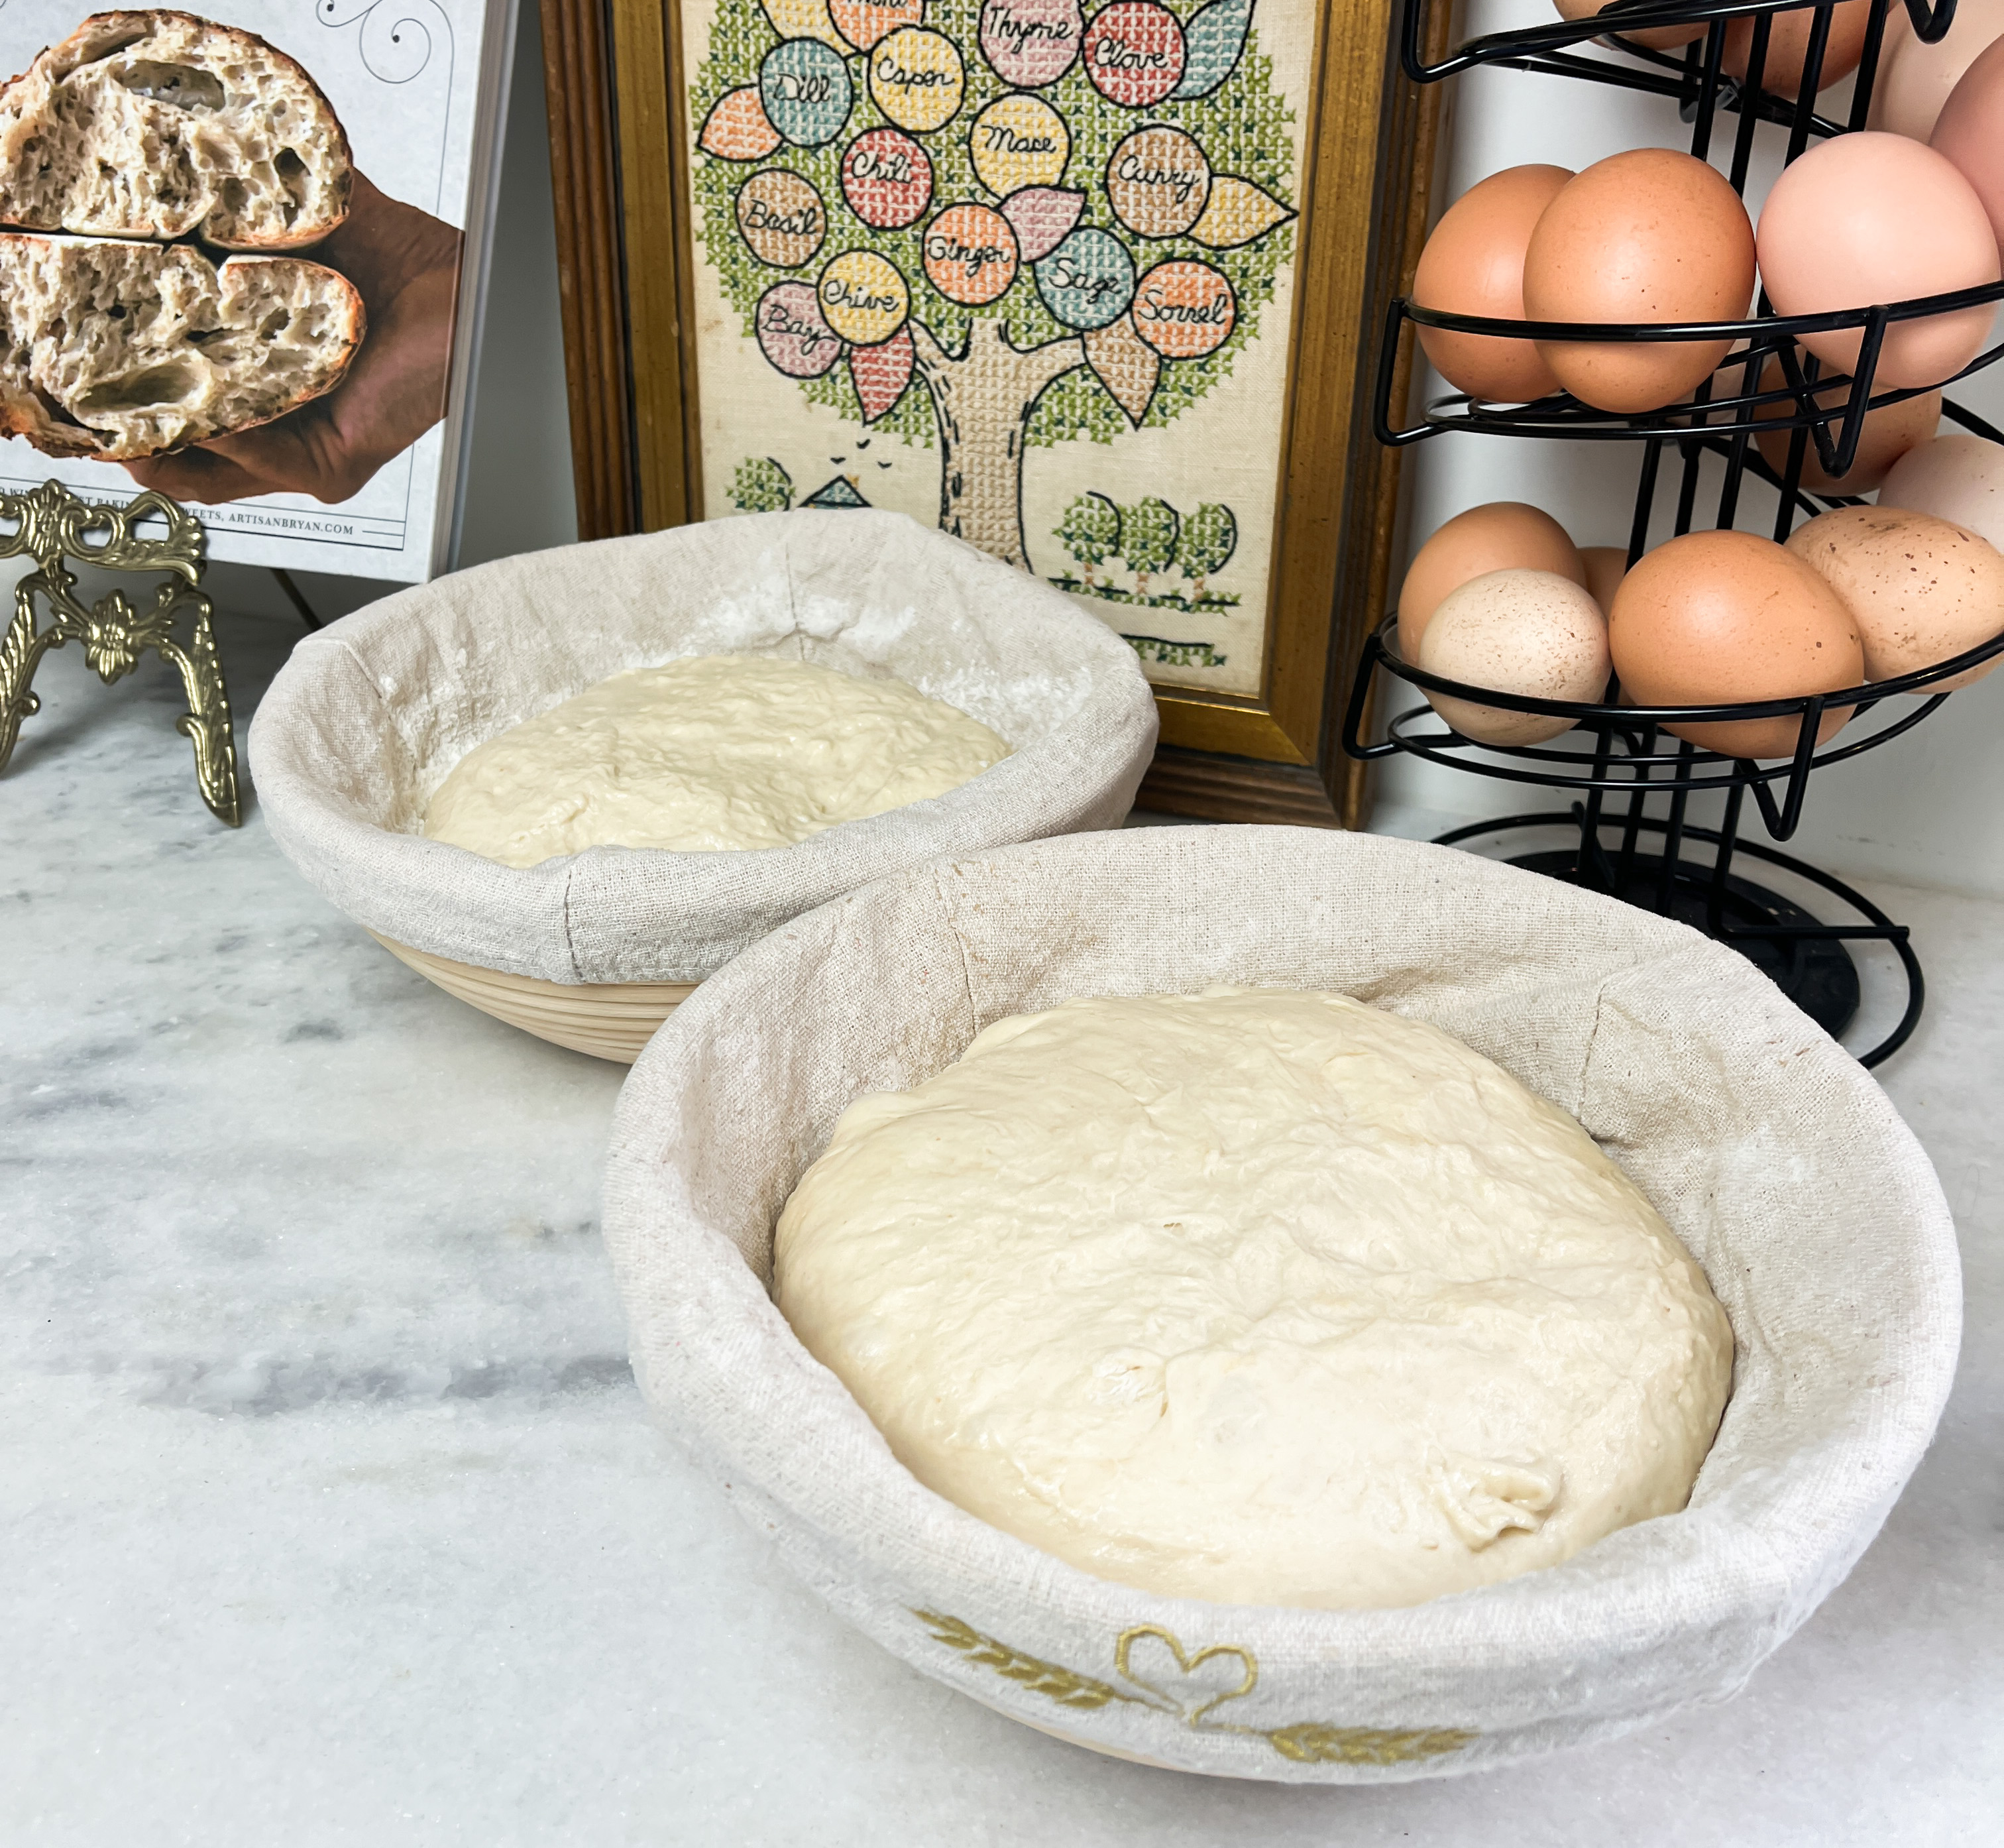
Step 10: Proofing
Flour your proofing basket thoroughly, and gently place your loaf seam side up inside the basket.
(If you do not have a Banneton/proofing basket you can use a loaf sized bowl and line it with a cloth napkin or tea towel. Dust the inside with flour and proceed!)
Repeat with the second loaf.
Step 11: Fermenting Overnight
Cover both loafs with plastic wrap and place in the fridge to ferment overnight.
The next morning, take your loaves out of the fridge and let sit at room temperature for 30 mins while you prep the oven.
Step 12: Prep to Bake
Place your cast iron Dutch Oven inside the oven and preheat the oven to 450F.
Once oven is preheated:
Lay out a sheet of parchment paper.
Dust with course cornmeal if wanted, and gently flip one of your loaves onto the parchment. Dust the top with flour
Using your lame or razor blade, score your loaf. You can keep it simple, and just cut a deep curved slash on one side of your loaf or feel free to get creative with your design! Just make sure you cut deep enough, as the scoring releases steam and allows the bread to rise.
Step 13: Time to Bake Your Bread!
Once you have scored your loaf, working quickly, take out your dutch oven and gently drop the parchment paper and loaf inside.
Cover with the lid, and place in the oven for 10 mins at 450F.
Remember that dutch oven is hot, hot, hot! Don’t burn yourself! (Speaking from experience)
After the 10 min timer, reduce the heat to 425F for 15 mins more.
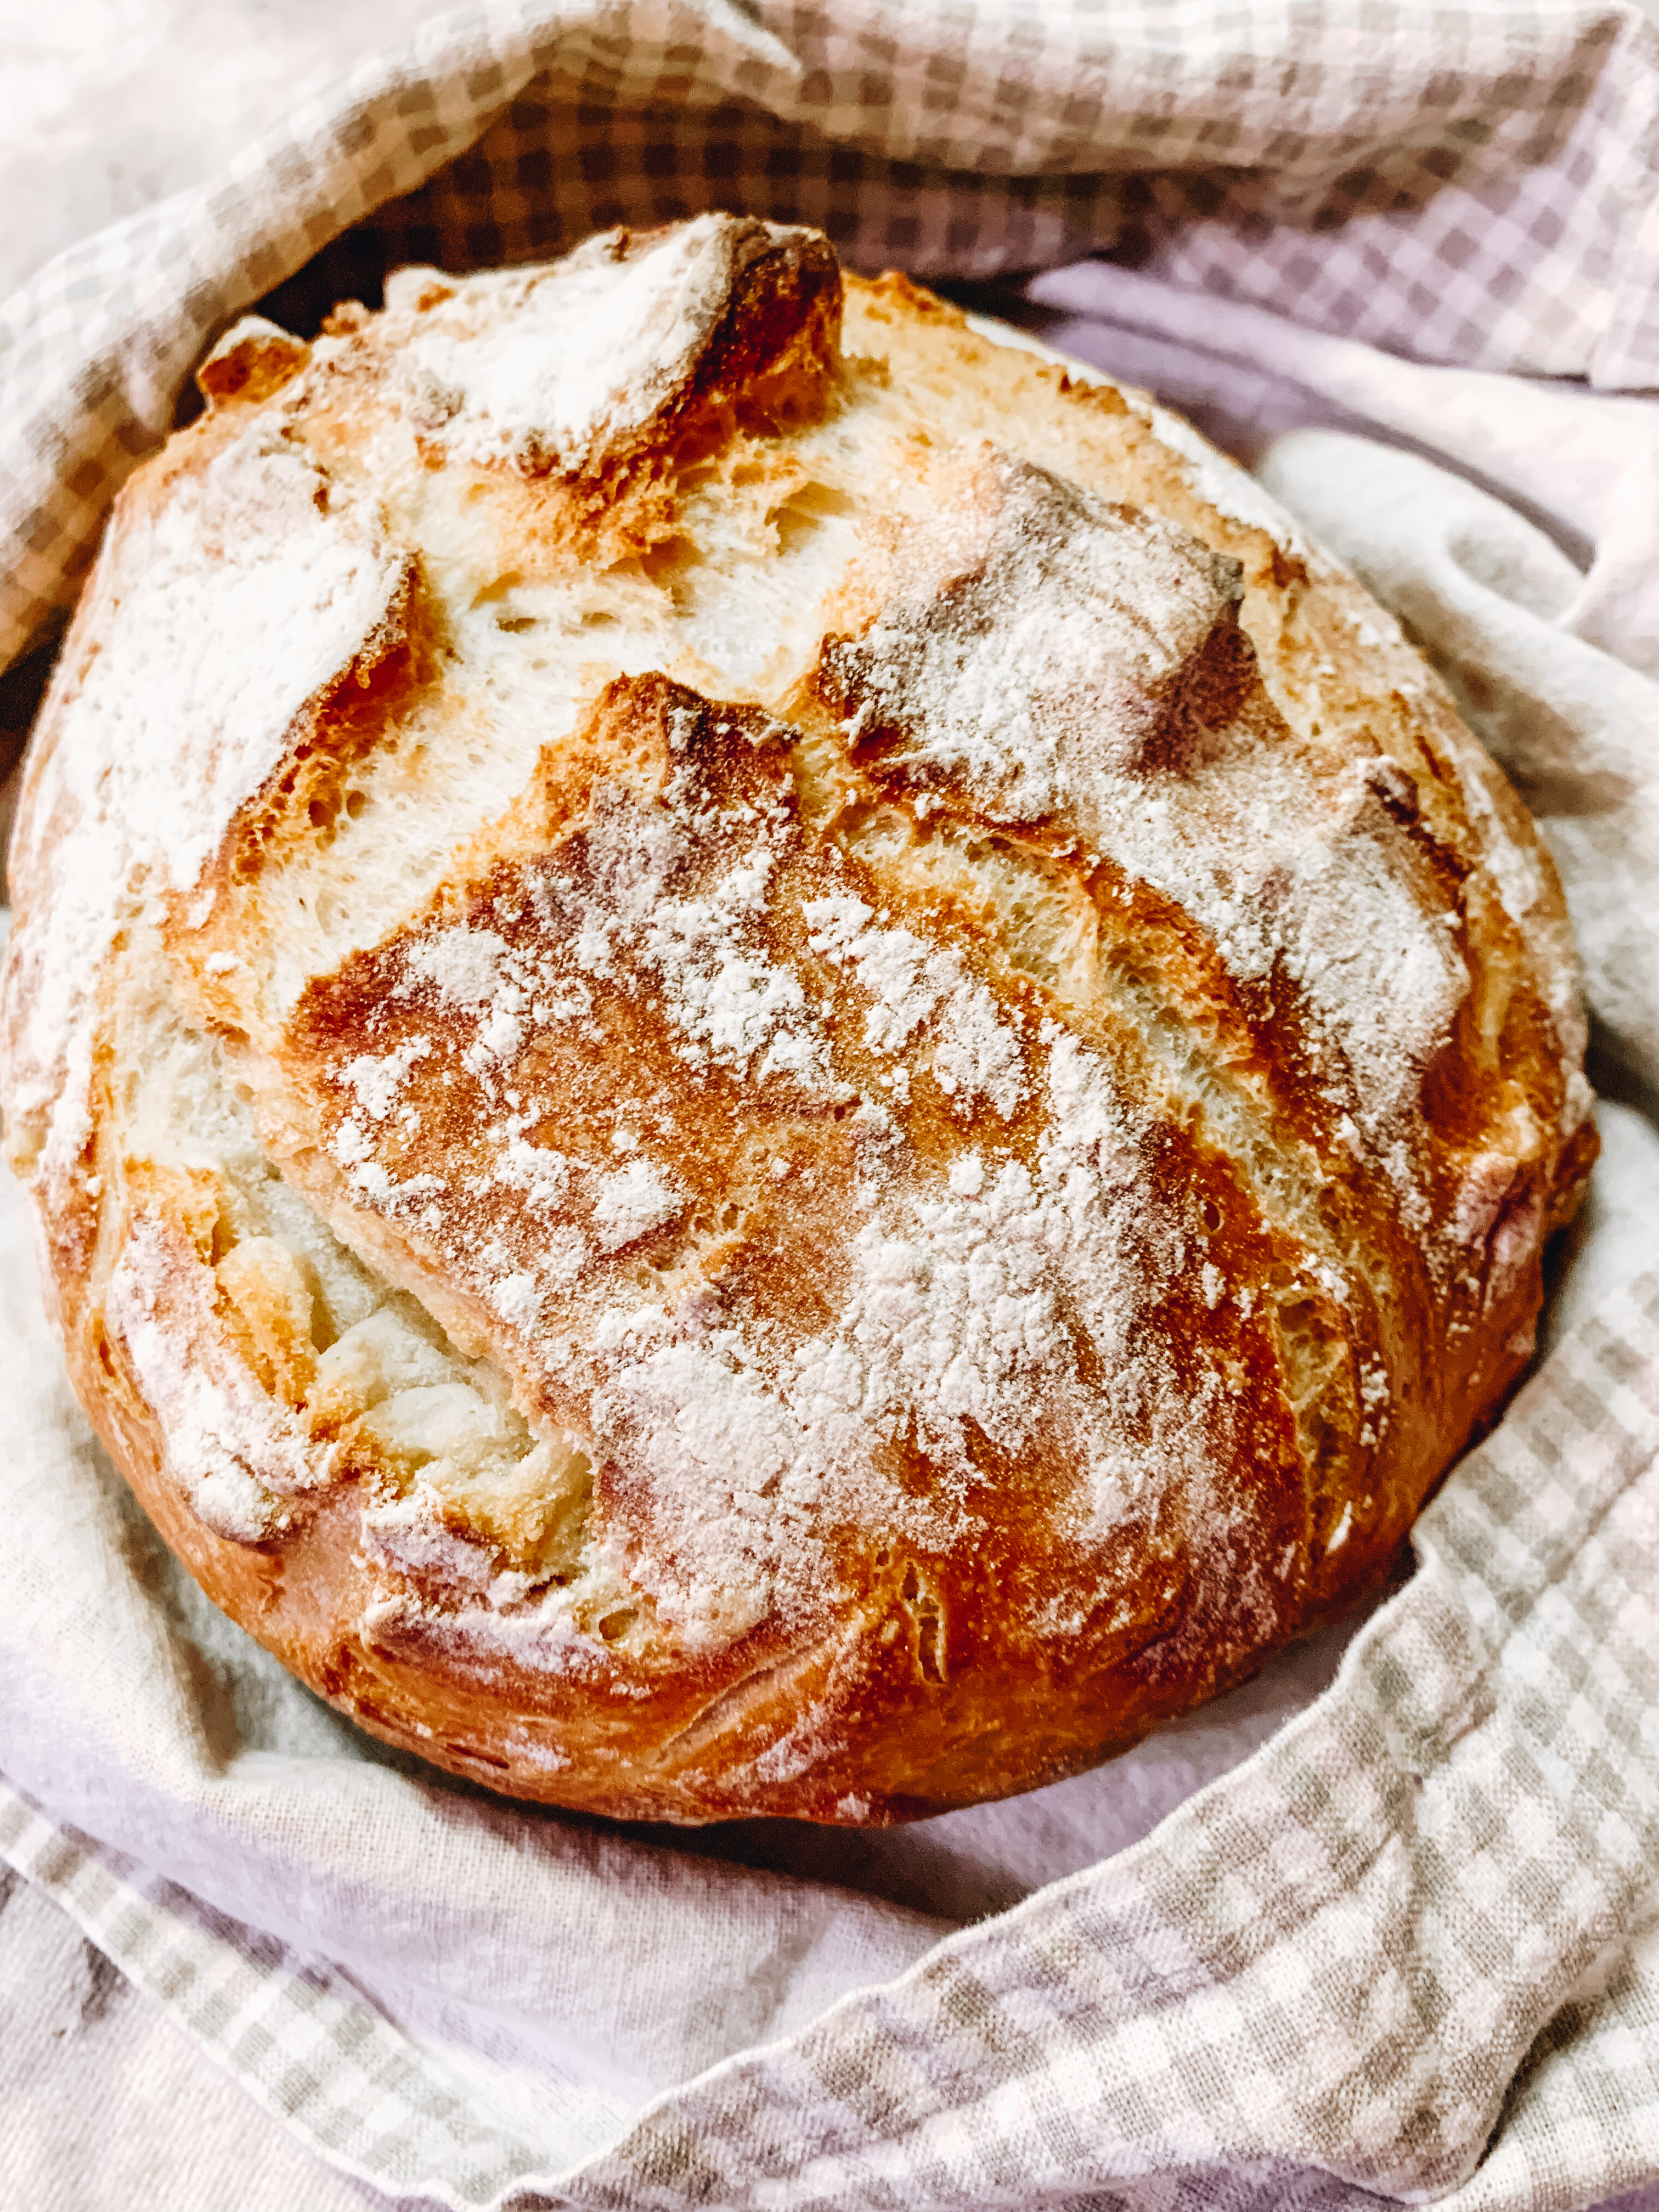
Now, remove the lid and bake the loaf for another 15-20 mins until you’ve got a nice golden brown crust.
(Leave the lid inside the oven as it needs to stay hot for the second loaf if you are baking it right away)
Remove from the dutch oven and let cool 10 mins before slicing…..if you can.

This is the basic, step-by-step process of sourdough bread for beginners. As you grow more confident you can experiment with different types of flour and ingredients to really up your game! When you’re ready, try using Rye flour, or adding in herbs or cheese!
Sourdough Bread for Beginners Step-by-Step
Baking sourdough bread doesn’t have to be intimidating! Follow this step-by-step process to baking your own sourdough. This is an easy sourdough bread for beginners to start with!
Ingredients
- 7.05 oz Sourdough Starer
- 1 lb 15oz All Purpose Flour (Unbleached)
- 3.5 oz Whole Wheat Flour
- 24.6 oz Warm Water
- 0.7 oz Salt
- Oil
- Cornmeal (optional)
Instructions
- First build your Levain. (Sourdough starter that has been fed and is active)
- Mix 1.7 oz of Sourdough Starter, 1.7 oz Whole Wheat Flour, 1.7 oz All Purpose Flour and 3.4 oz of Warm Water. Cover, and allow levain to active and become bubbly. May take a few hours!
- Dissolve warm water into Levain and set aside.
- In a large bowl, combine all purpose flour and whole wheat flour.
- Pour 3/4 of levain mixture into flour, saving 1/4 of mixture for later.
- Using a clean hand, mix and massage flour and levain until dough forms a shaggy ball.
- Cover with clean towel and let rest (Autolyse) for 30 minutes.
- Uncover, and sprinkle salt over the dough.
- Add remaining levain/water to the dough and using your hands mix into dough until smooth.
- Oil another large bowl and transfer dough.
- Cover and let rest another 30 minutes.
- After 30 minutes, perform a series of folds by grasping one side of the dough, lifting up and stretching dough then folding it over onto itself being careful not to tear the dough. Repeat on all 4 sides.
- Cover again and repeat step 10. every 30 minutes 3 more times.
- Cover and let it sit on the counter to ferment for 4 hours.
- After fermentation, dough should have almost doubled. Pour dough out onto a floured workspace and divide in two sections using your dough cutter or a sharp knife.
- Stretch one section out into a rectangle shape. Fold each side in, envisioning an envelope. Pinch seams together and Flip seam side down onto your surface.
- Now we will perform a tension roll. Gather the dough in your hands and drag it towards you, using the friction to seal the dough. Turn the dough and pull it towards you again until you have a nice tight round shape.
- Repeat steps 14-15 with the second section of dough.
- Dust your bannetons generously with flour or line a bowl with a cloth and dust with flour.
- Using your dough scraper or a spatula, place your loaves into the prepared bannetons, seam side up.
- Cover with plastic wrap and place in the fridge overnight.
- When you are ready to bake, take your dough out of the fridge and let rest on the counter while you preheat the oven.
- Place your dutch oven with lid inside the oven and preheat to 450 F
- Prepare your parchment paper and sprinkle cornmeal on it if wanted.
- Gently, flip a loaf onto the paper. Take your lame or razor blade and cut a slash into one side curving with the side of the loaf.
- You can be creative here! Just cut deep enough, as this will allow the steam to escape helping the dough rise in the oven.
- Once oven is preheated, take out dutch oven and carefully drop the parchment paper and loaf into dutch oven. Cover with the lid and place back in the oven. Bake for 10 mins.
- After 10 mins, reduce heat to 425 F, and bake another 15 minutes.
- Remove the lid to let the steam out, and bake another 20 minutes.
- Let bread sit on the counter for 10 minutes before cutting...if you can!
Pin this for later!